
How to Create a Policy
Basic & Full Policies
The Advocate platform will enable two possible policy creation flows; Basic or Full Creation, depending on the relevant selection made during the Case Creation process.
A Basic Policy is designed for users who wish to swiftly onboard policies for servicing without the immediate need for review, allowing for a more streamlined process.
A Basic Policy can be created when the Renewal Case -> Future Renewal selection is made during the Case Creation.
Follow these steps to create a new Basic policy in the Advocate platform:
Step 1: Start Creating a Basic Policy
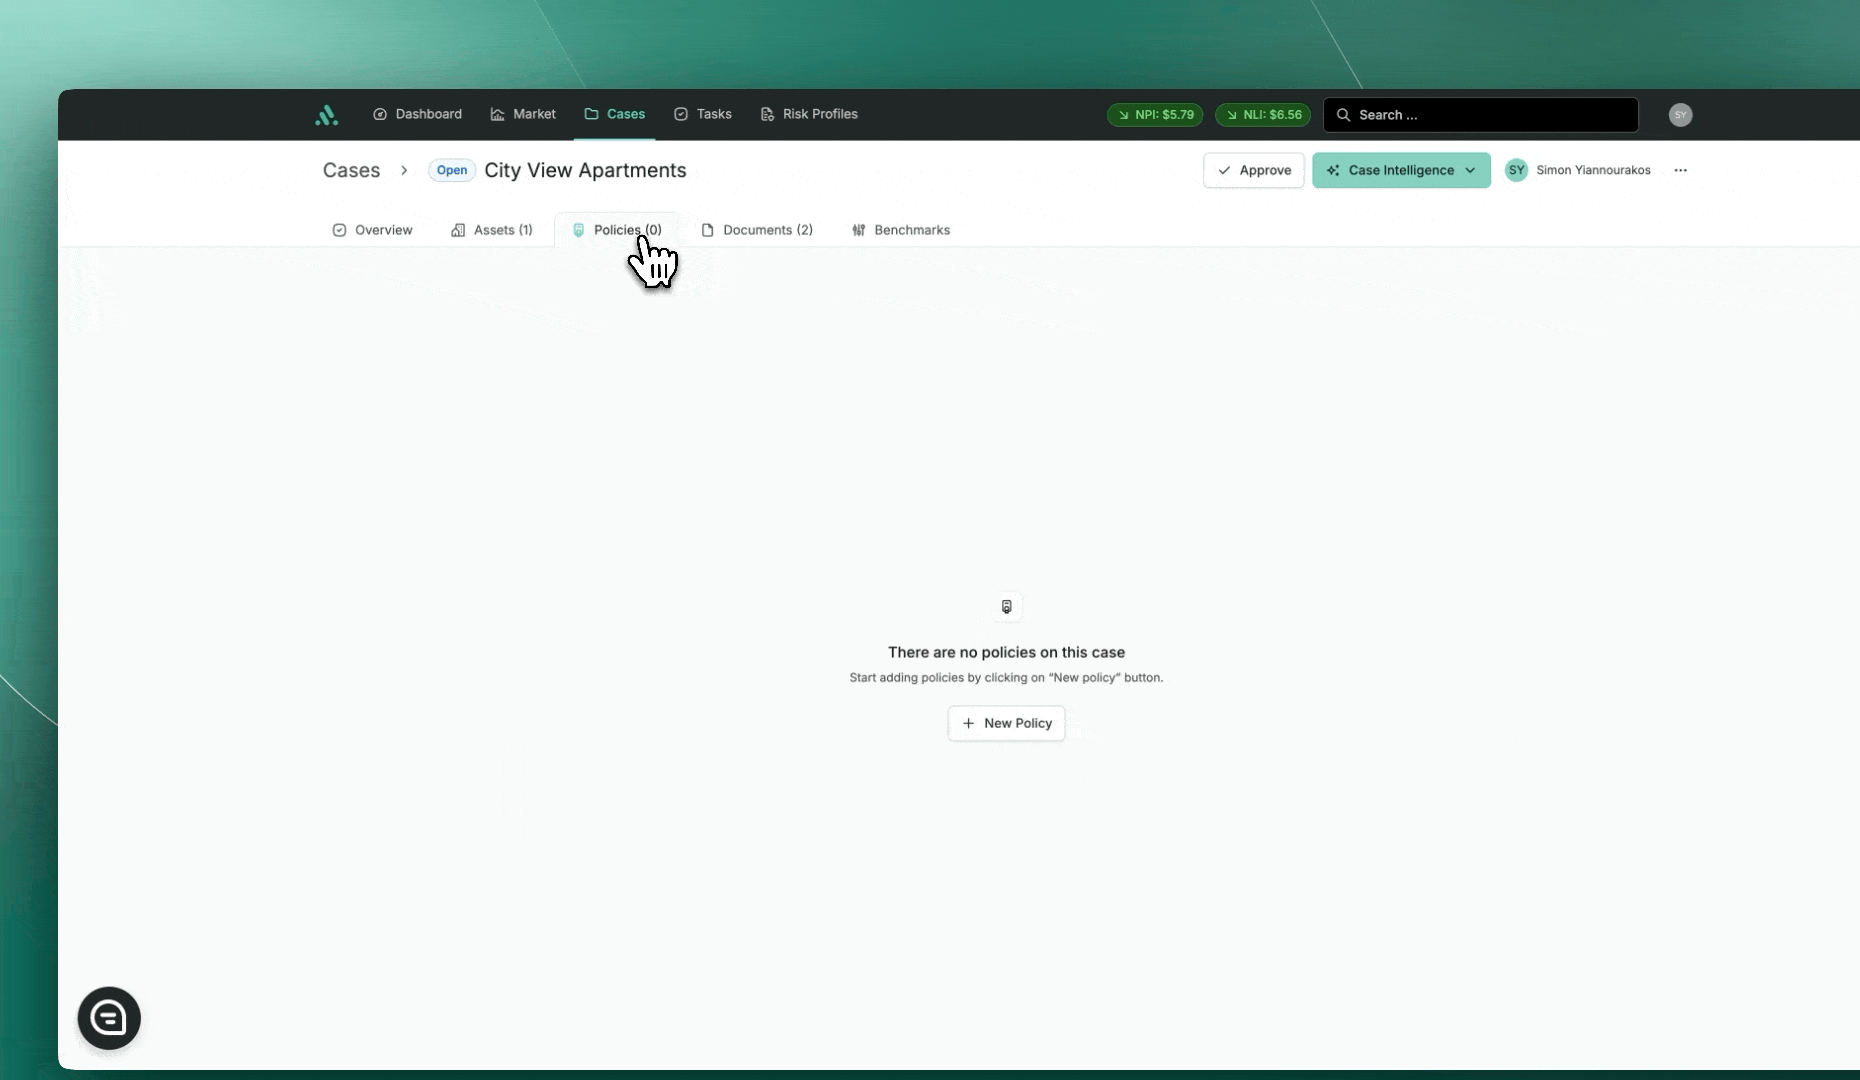
Go to the Case Overview page in the Advocate platform.
Navigate to the Policies Tab
In the top-right corner, click + New Policy.
Step 2: Populate Policy Fields
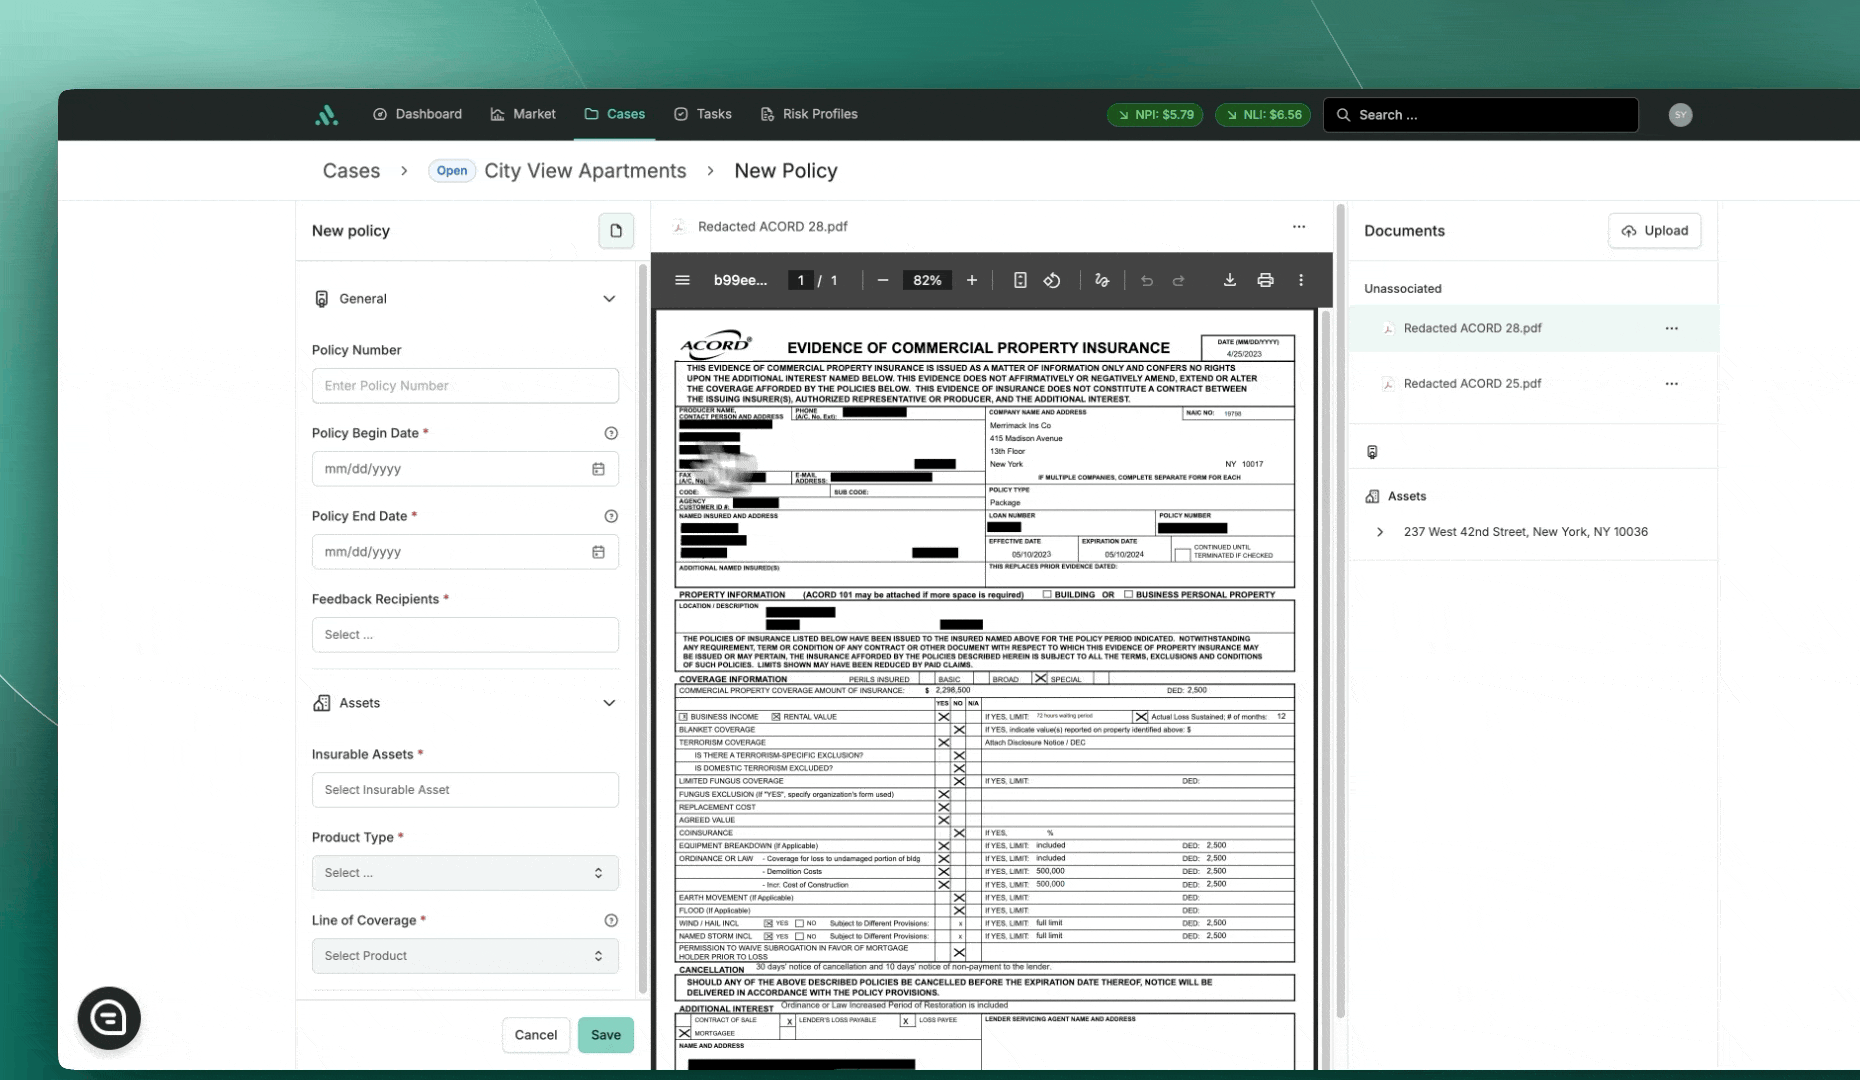
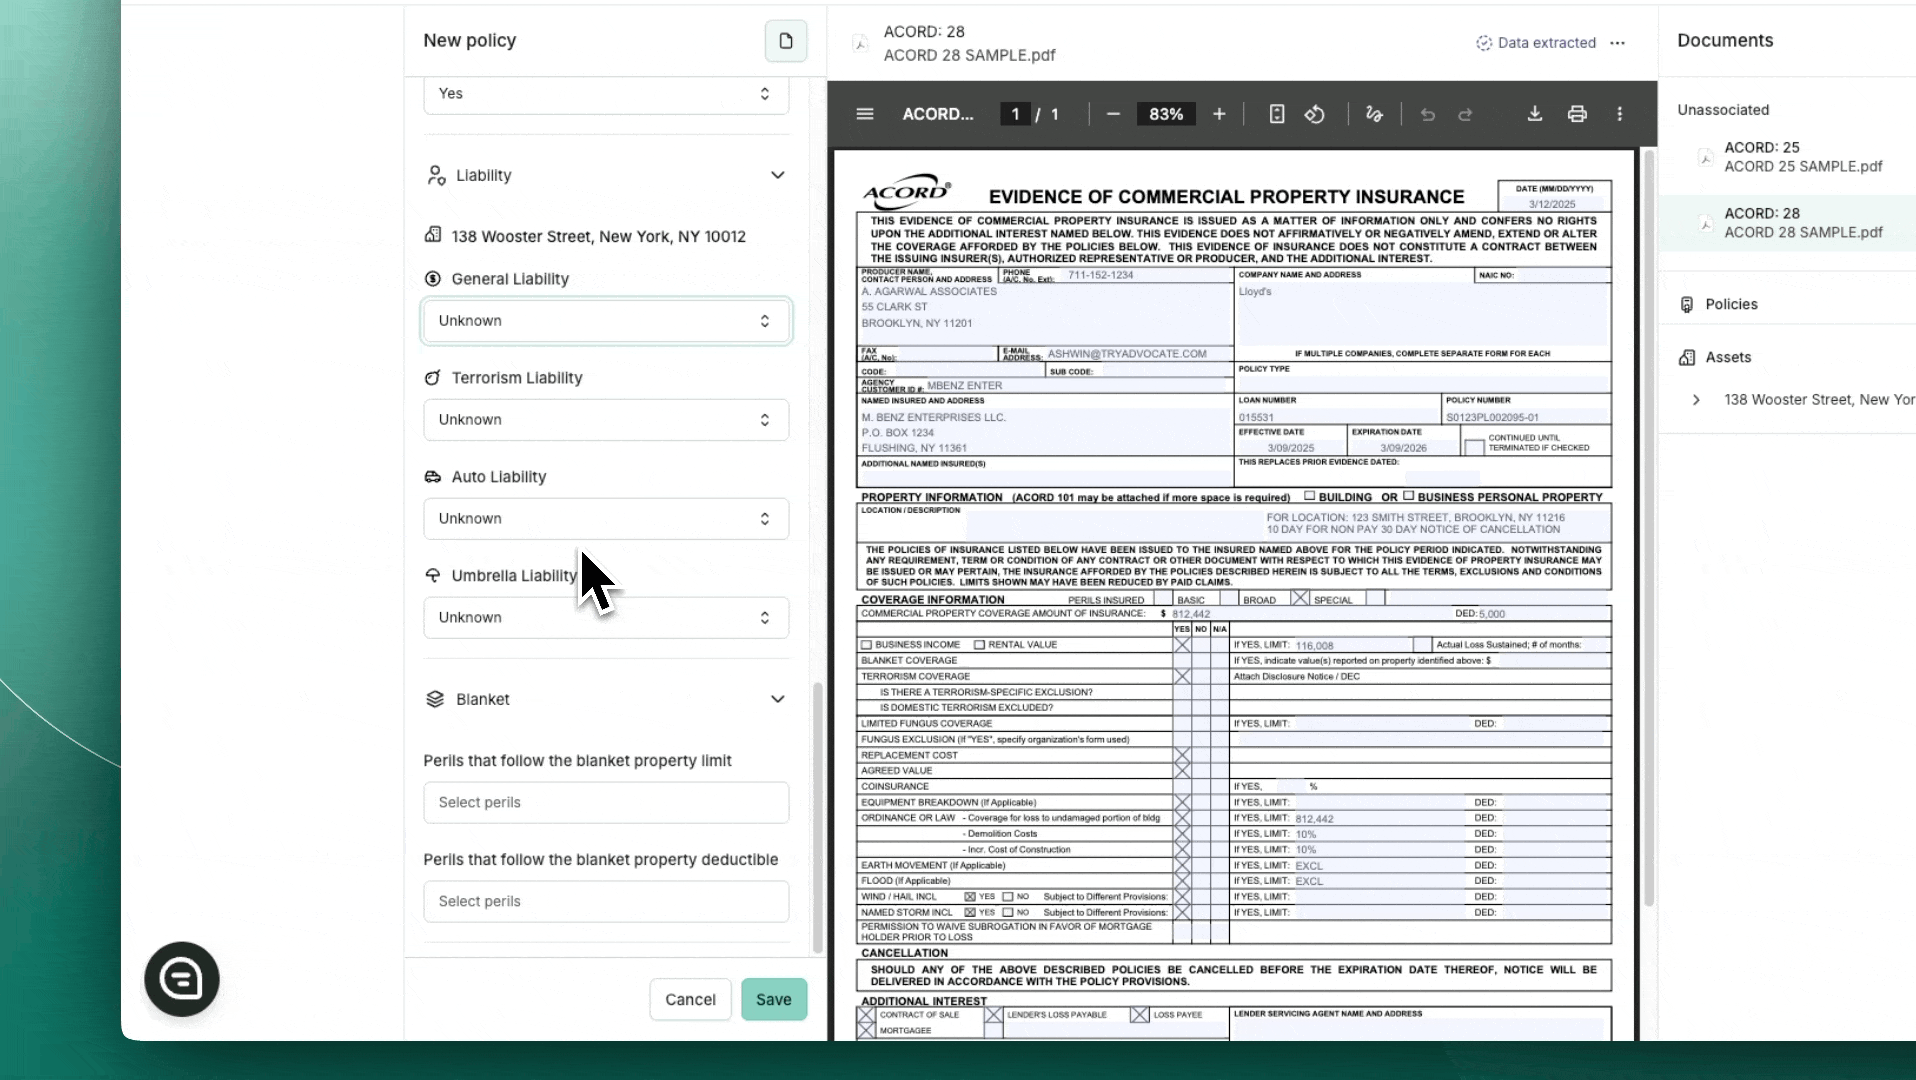
On the Create Policy screen, complete the following fields:
Policy Information
Policy Number (optional): Enter the unique Policy ID.
Policy Begin Date (required): Enter the start date of the Policy.
Policy End Date (required): Enter the end date of the Policy.
Feedback Recipients (required): Select any relevant Insurance Contacts who will serve as the points of contact for this policy.
Coverage Details
Insurable Asset (required): Select the collateral associated with this policy.
Product Type (required): Choose the type of policy:
Options: Unknown, Quotes, Commercial Lines, or Personal Lines.
Recommendation: For most cases, select Commercial Lines.
Line of Coverage (required): Select the specific policy type (e.g., Commercial Package).
Once you have completed all the required fields, you will be redirected to the Case Overview page, and the Policy will automatically be moved to Approved status.
Full Policies
Creating a Full Policy provides users with the capability to conduct the review at the time of its creation.
A Full Policy can be created only when the following selection have been made at Case Creation.
New Case
Renewal Case -> Audit Now
Follow these steps to create a new Full policy in the Advocate platform:
Step 1: Populate Full Policy Fields
On the Create Policy screen, complete the following fields:
Policy Information
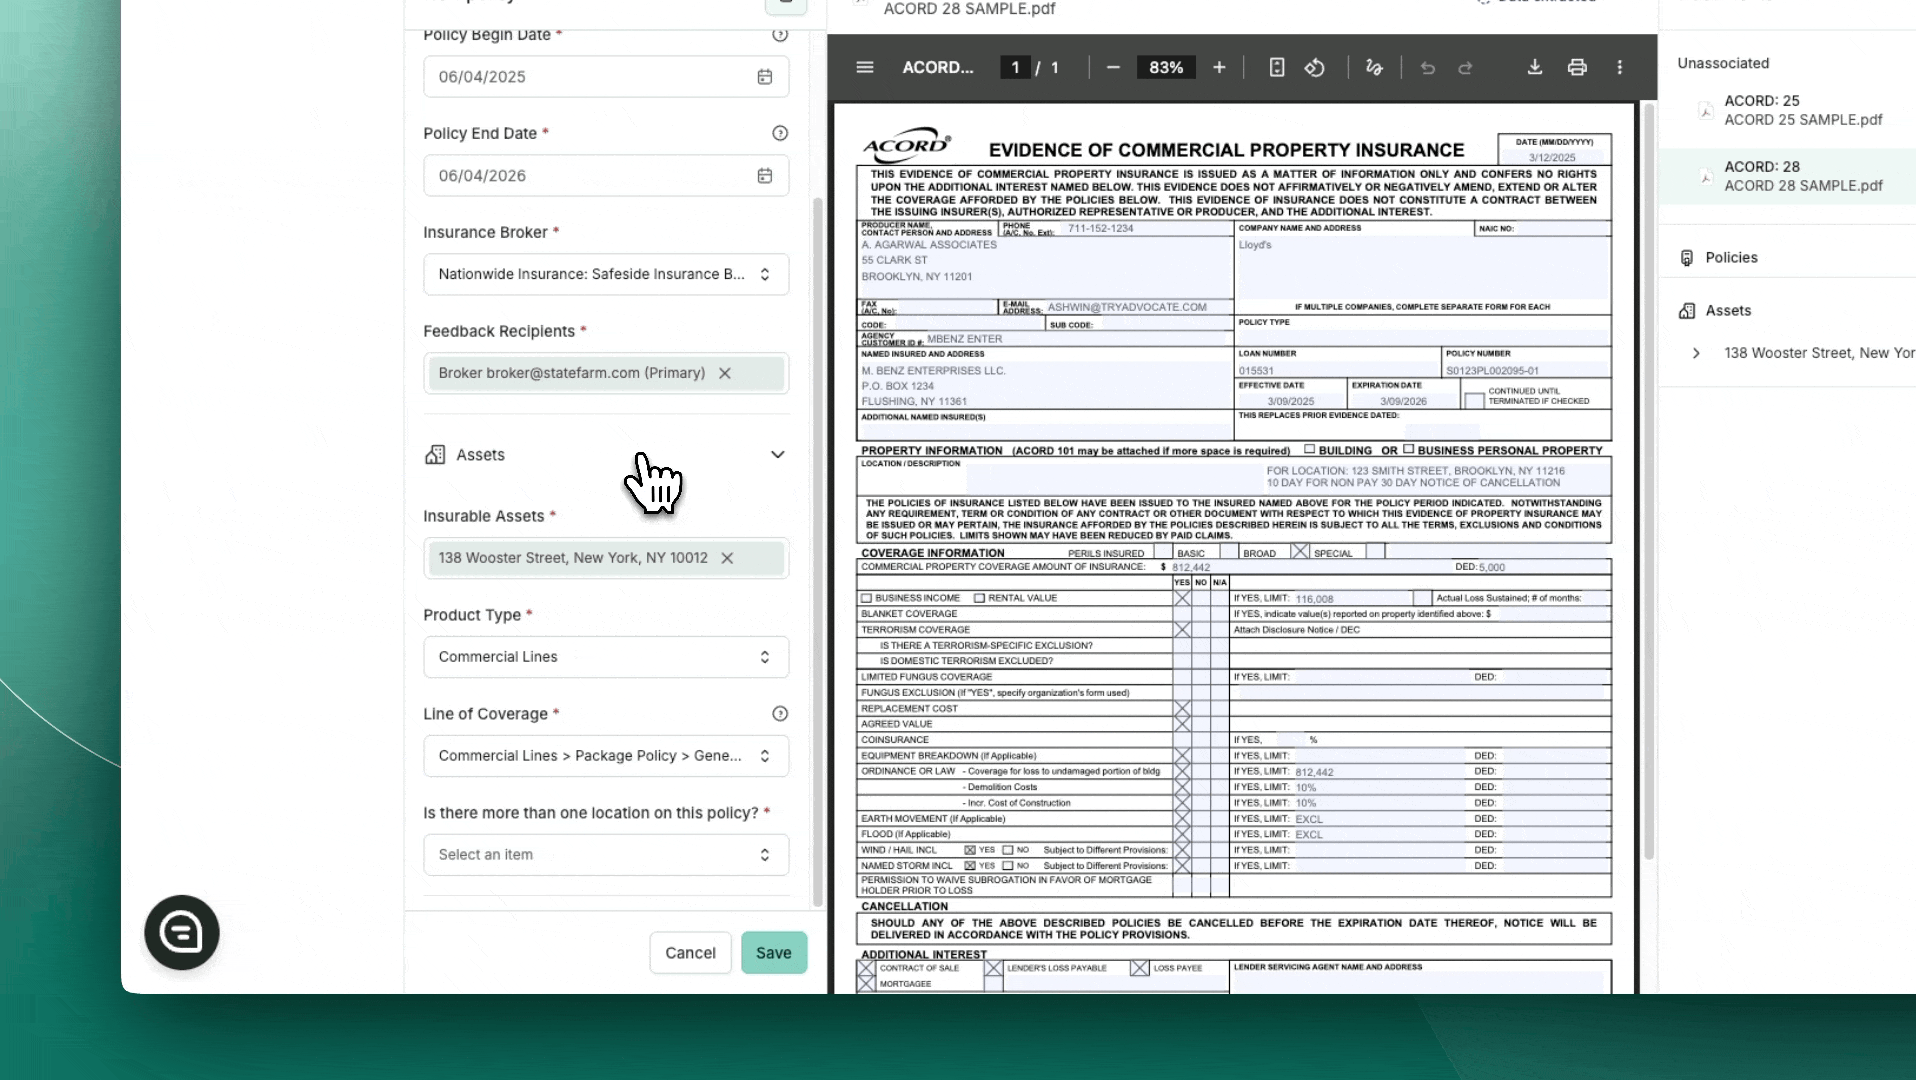
Policy Number: Enter the unique Policy ID.
Policy Begin Date: Enter the start date of the Policy.
Policy End Date: Enter the end date of the Policy.
Insurance Broker: Choose an existing insurance broker from the list or create a new one if necessary.
Feedback Recipients: Select any relevant Insurance Contacts who will serve as the points of contact for this policy.
Coverage Details
Insurable Asset: Select the collateral associated with this policy.
Product Type: Choose the type of policy:
Options: Unknown, Quotes, Commercial Lines, or Personal Lines.
Recommendation: For most cases, select Commercial Lines.
Line of Coverage: Select the specific policy type (e.g., Commercial Package).
Step 2: Determine Single vs. Multi-Asset Coverage
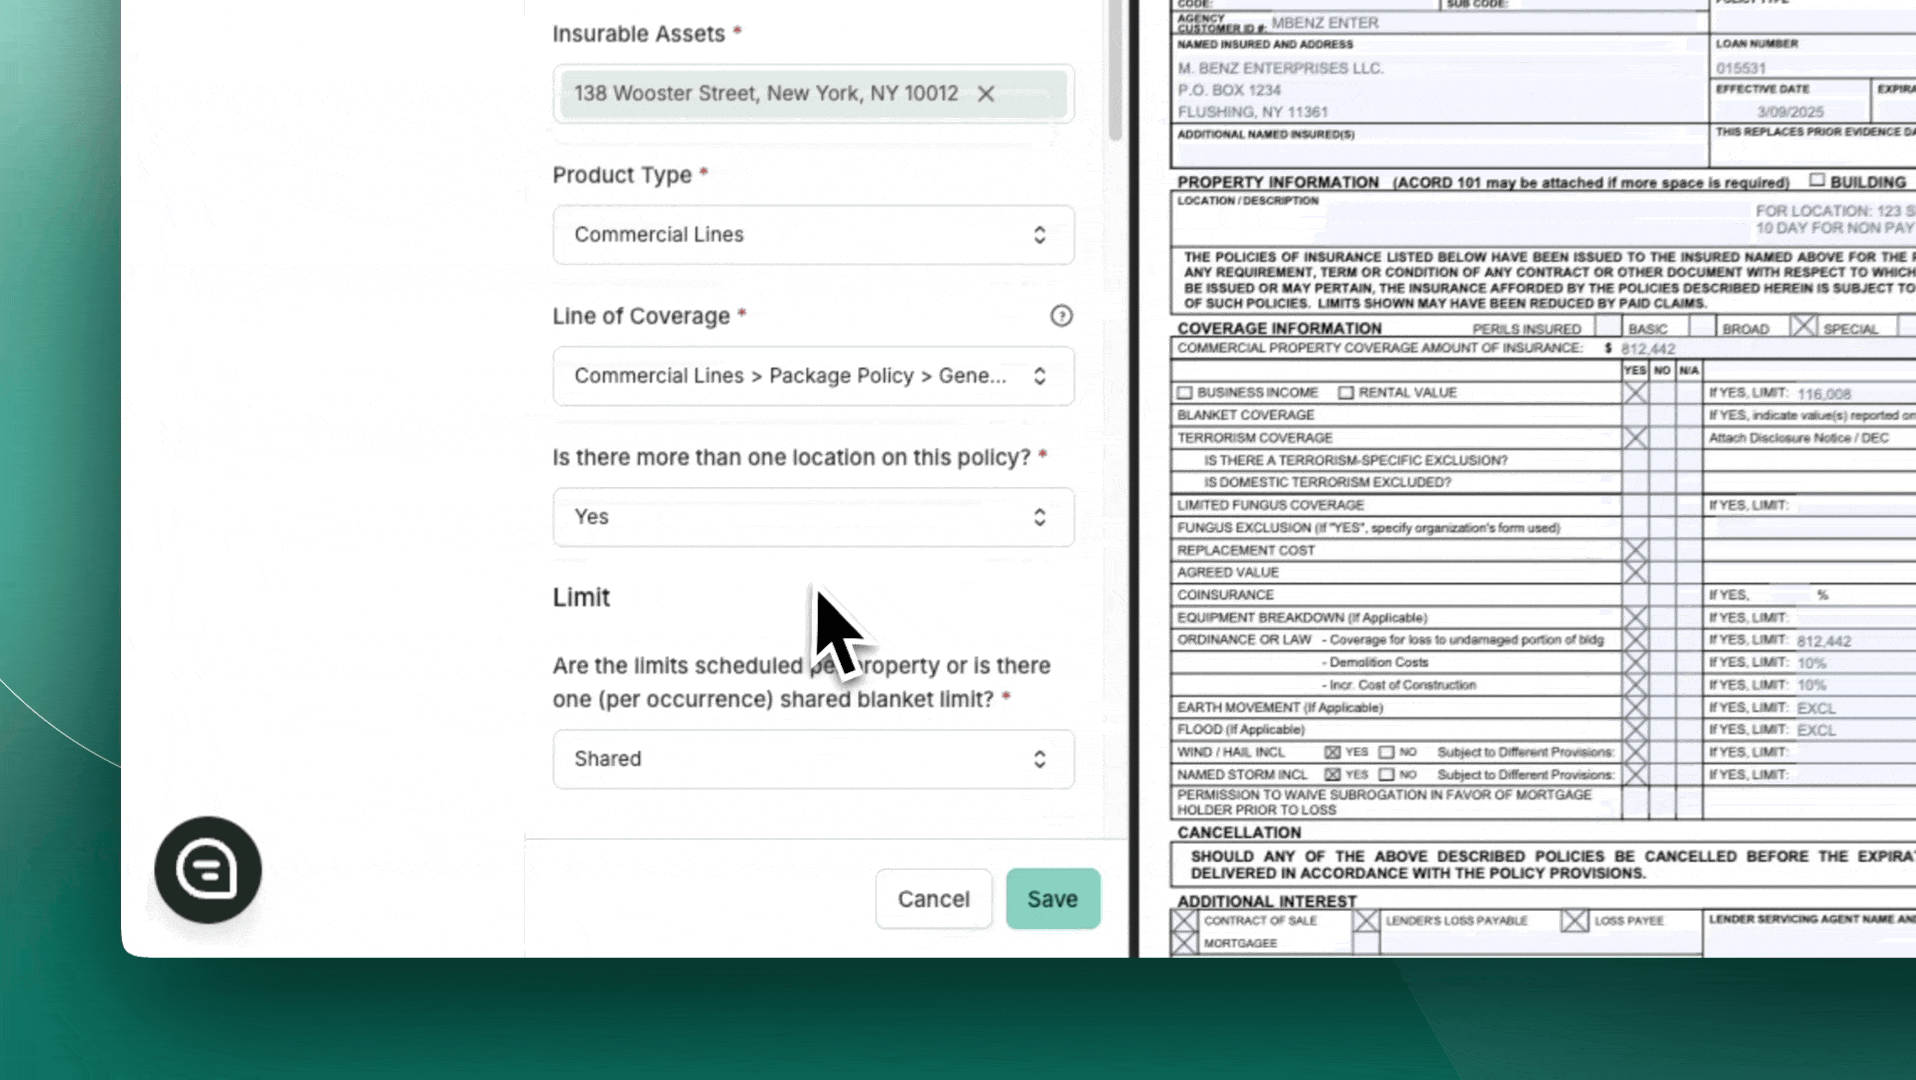
Is there more than one location on this policy?: Select the answer that best represents the policy's structure (e.g Standalone, Scheduled Limits, True/ Scheduled Blanket Policy).
1️⃣ Single Location? → Standalone Property
2️⃣ Multiple Locations or Unknown? → Proceed to the next question
Determine Scheduled vs. Blanket Limits
Are the limits scheduled, or is there one shared limit?
Shared Limit? → True Blanket
Scheduled Limits? → Proceed to the next question
Check for an Overall Shared Limit
Does the policy have an overall shared limit?
Yes → Scheduled Blanket
No/Unknown → True Scheduled
Note: If multiple Assets are selected as Insurable Assets, the field will default to Yes.
Step 3: Select Line of Coverage/ Perils
Based on the selected Line of Coverage, Advocate's system will automatically activate the relevant perils associated with it. The user will have to select one of the following options:
Are the following coverages evidenced on the policy?
Yes
No
Unsure (Defaults to Yes - i.e. will request the coverage)
Handling sub-limits
If the policy includes perils following the Property Building Limit (e.g., Terrorism Property, Boiler & Machinery, Ordinance or Law), the user must answer these questions:
Does the [insert sub-limit] limit follow the scheduled property limit?
Yes: This answer hides the limit field for that Peril and automatically populate the value from the Property limit field.
No: The respective field for that peril appears in the checklist and needs to filled in for compliance.
Does the [insert sub-limit] deductible follow the scheduled property deductible?
Yes: This answer hides the deductible field for that Peril and automatically populate the value from the Property deductible field.
No: The respective field for that peril appears in the checklist and needs to filled in for compliance

Step 4 (where applicable): Blanket Peril Selection
Is there more than one location on this policy?
If the policy has Shared Limits OR an Overall Limit, the Blanket Peril Selection section appears with two additional settings:
Perils that follow the blanket property limit
If enabled, the Blanket Limit Field for selected perils is hidden from the checklist, and the peril’s limit is auto-populated from the Blanket Property Limit.
Perils that follow the blanket property deductible
If enabled, the Blanket Deductible Field for selected perils is hidden from the checklist, and the peril’s deductible is auto-populated from the Blanket Property Deductible.
Pro Tip: Reviewers can select more than one perils, should they follow the Blanket Property Limit and/or Blanket Property deductible.
Step 5: Create your Policy
Once all fields are filled out accordingly, click on Create Policy.