How to Review a Policy
When ready to proceed with a policy review in Advocate, you will need to select the perils or coverages that apply to that policy. The platform’s rule engine helps guide these selections based on risk profile, case details, and asset type. Here’s how it works:
How Coverage Selection Works
Risk Profile: The Advocate rule engine automatically calculates which coverages are required for compliance, based on the compliance program selected for the loan.
Case and Asset Information: Using the case’s details and asset type, the platform tailors required coverages to suit the specific context of the loan.
Product and Coverage Type Matching: When a new policy is created, the system uses the selected Product Type and Coverage Type to populate a checklist of coverages that could typically apply to that type of policy.
This automation enables the insurance reviewer to see a list of relevant coverages and ensures that all required perils are assessed for compliance.
Selecting the Perils
Upon creating the policy, the insurance reviewer examines the actual insurance policy and marks each coverage item based on its presence and relevance. The reviewer can choose from the following options for each coverage:
Yes: The coverage is included in this policy and should be reviewed for compliance.
No: The coverage is required but is either:
Provided by a separate policy, or
There is no evidence of this coverage in the policy documents.
Unsure: Defaults to "Yes" and will populate the policy checklist with relevant rules for review.
Note: if a Peril is selected as "No" and the coverage is not provided by a separate policy, the system will still flag this coverage as "Missing" and request it in the Generated Feedback.
Handling sub-limits
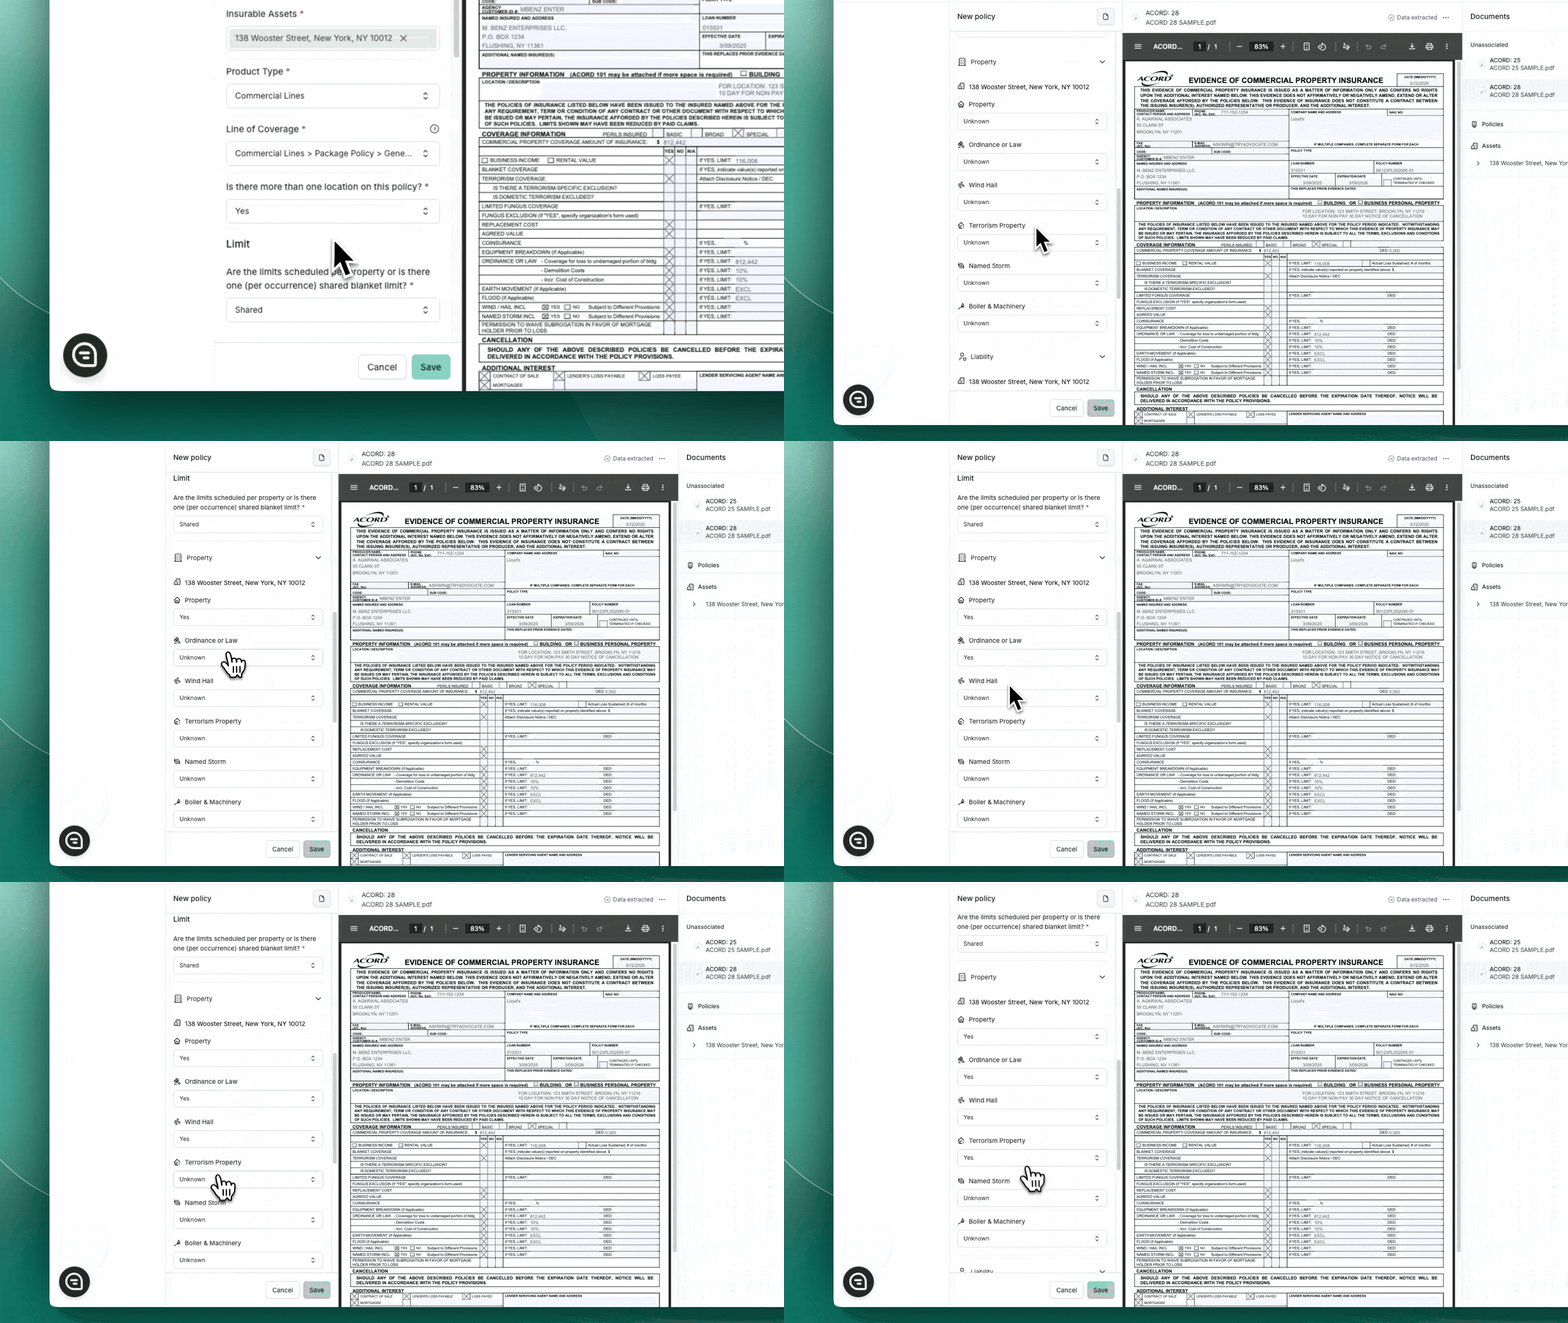
If the policy includes perils following the Property Building Limit (e.g., Terrorism Property, Boiler & Machinery, Ordinance or Law), the reviewer must answer these questions:
Does the [insert sub-limit] limit follow the scheduled property limit?
Yes: This answer hides the limit field for that Peril and automatically populate the value from the Property limit field.
No: The respective field for that peril appears in the checklist and needs to filled in for compliance.
Does the [insert sub-limit] deductible follow the scheduled property deductible?
Yes: This answer hides the deductible field for that Peril and automatically populate the value from the Property deductible field.
No: The respective field for that peril appears in the checklist and needs to filled in for compliance
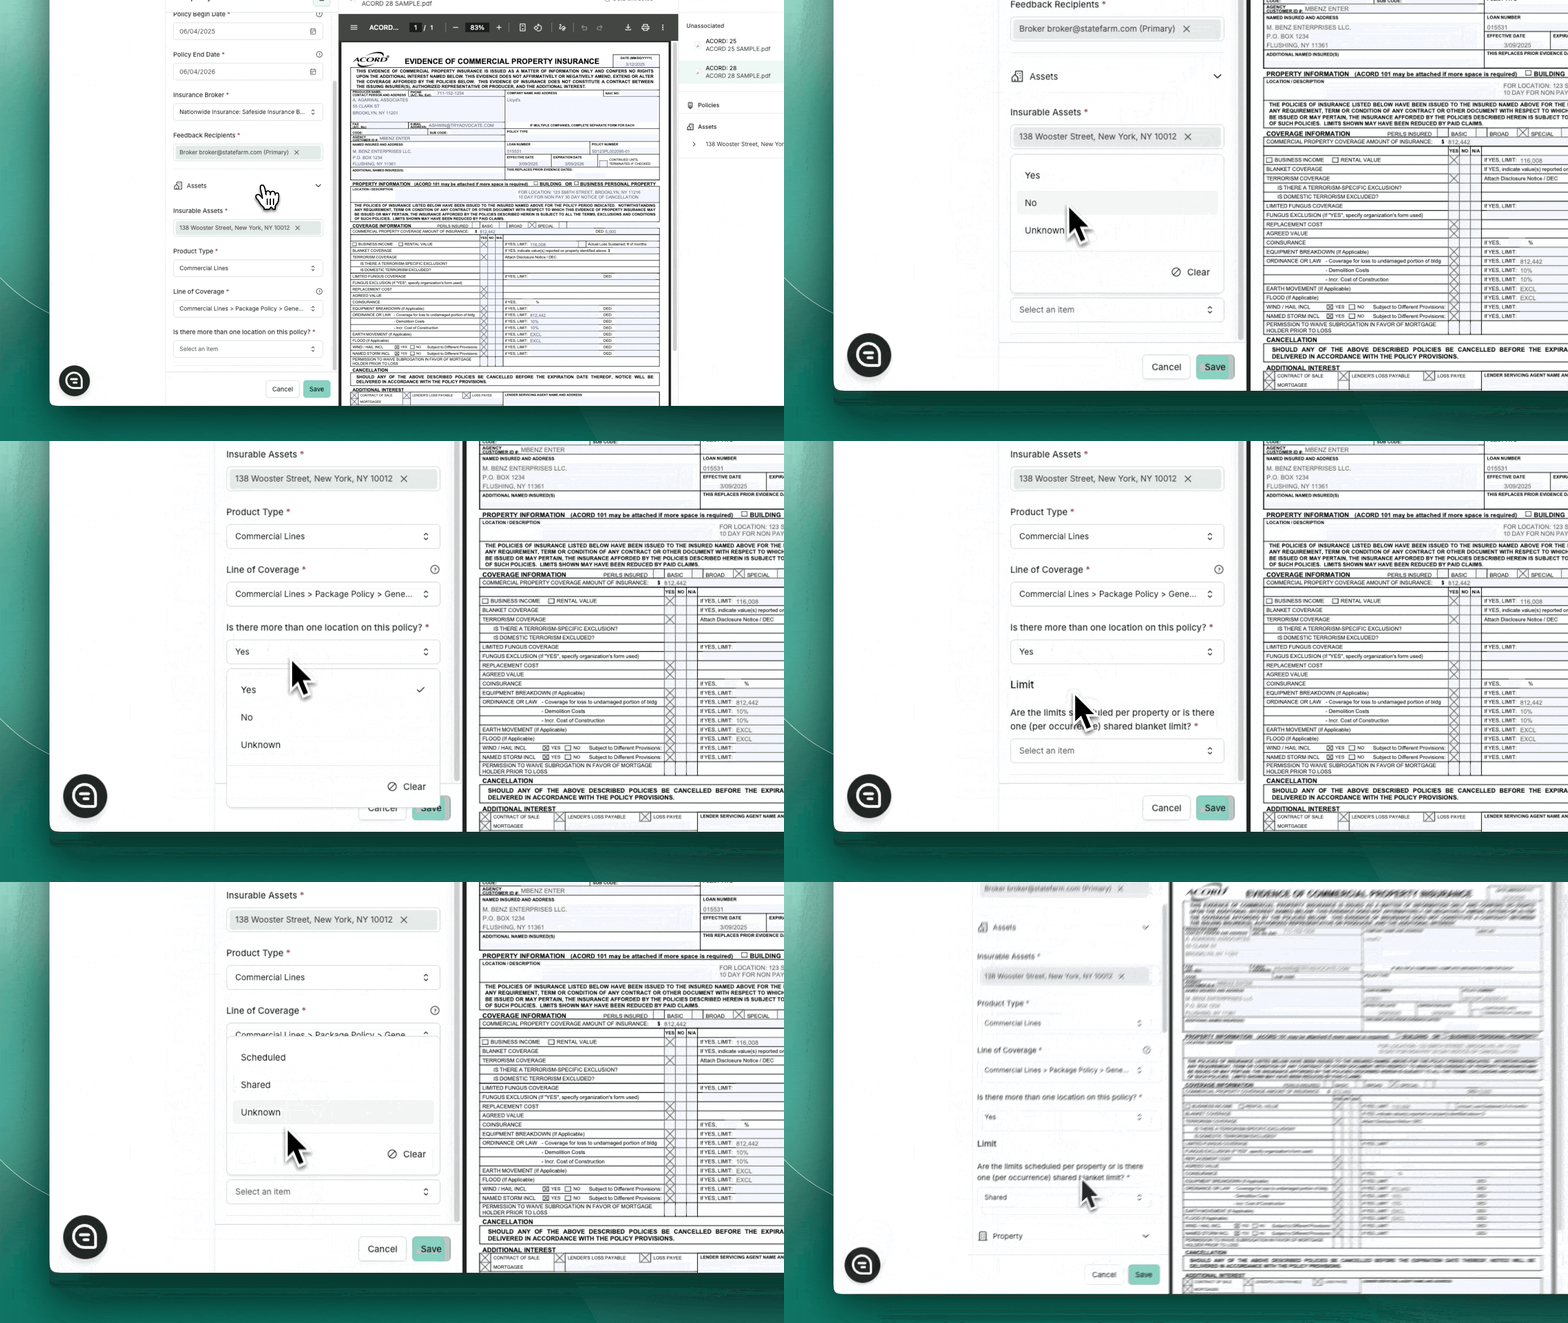
Selecting the Policy Structure
Standalone Policy
The reviewer should follow the path below to review a Standalone Policy.
Is there more than one location on this policy?
No
Scheduled Limits Policy
The reviewer should follow the path below to review a Scheduled Limits Policy.
Is there more than one location on this policy?
Yes
Are the limits scheduled per property or is there one shared blanket limit?
Scheduled
Does the policy also have an overall limit that is shared with all locations?
No
Scheduled Blanket Policy
The reviewer should follow the path below to review a Scheduled Blanket Policy.
Is there more than one location on this policy?
Yes
Are the limits scheduled per property or is there one shared blanket limit?
Scheduled
Does the policy also have an overall limit that is shared with all locations?
Yes
Important: The above triggers the Blanket Peril Selection
If the policy has shared or overall limits, the Blanket Peril Selection section will appear with two questions: one to determine if selected perils should inherit the Blanket property limit, and another to determine if they should inherit the Blanket property deductible.
If selected, the respective fields will be hidden and automatically populated.
Pro Tip: Reviewers can select more than one perils, should they follow the Blanket Property Limit and/or Blanket Property deductible.
True Blanket Policy
The reviewer should follow the path below to review a True Blanket Policy.
Is there more than one location on this policy?
Yes
Are the limits scheduled per property or is there one shared blanket limit?
Shared
Note: The reviewer should fill out the Blanket Peril Selection accordingly in the event of a True Blanket Policy.
How to use the Policy Checklist
Once you’ve created a new policy in the system, you can access its Policy Checklist by navigating to the policies tab from the case overview page and selecting the relevant policy row. This checklist is essential for ensuring that the policy meets all compliance requirements.
What is the Policy Checklist?
The Policy Checklist is a list of all compliance items and rules that need to be verified for a policy to ensure compliance. The checklist is tailored specifically for each policy based on several key factors, including:
Risk Profile: The coded insurance requirements for this specific loan.
Case Information: Details of the loan that may impact compliance needs.
Asset Type and Information: The type of collateral associated with the loan, which can influence required coverages and limits.
Policy Type and Peril Configurations: Selected options when creating the policy, such as the type of coverage and perils, define the compliance rules that will appear in the checklist.
Using this information, the Advocate's rule engine automatically generates a customized checklist specifically for the compliance items that need to be reviewed, verified, and confirmed for the policy.
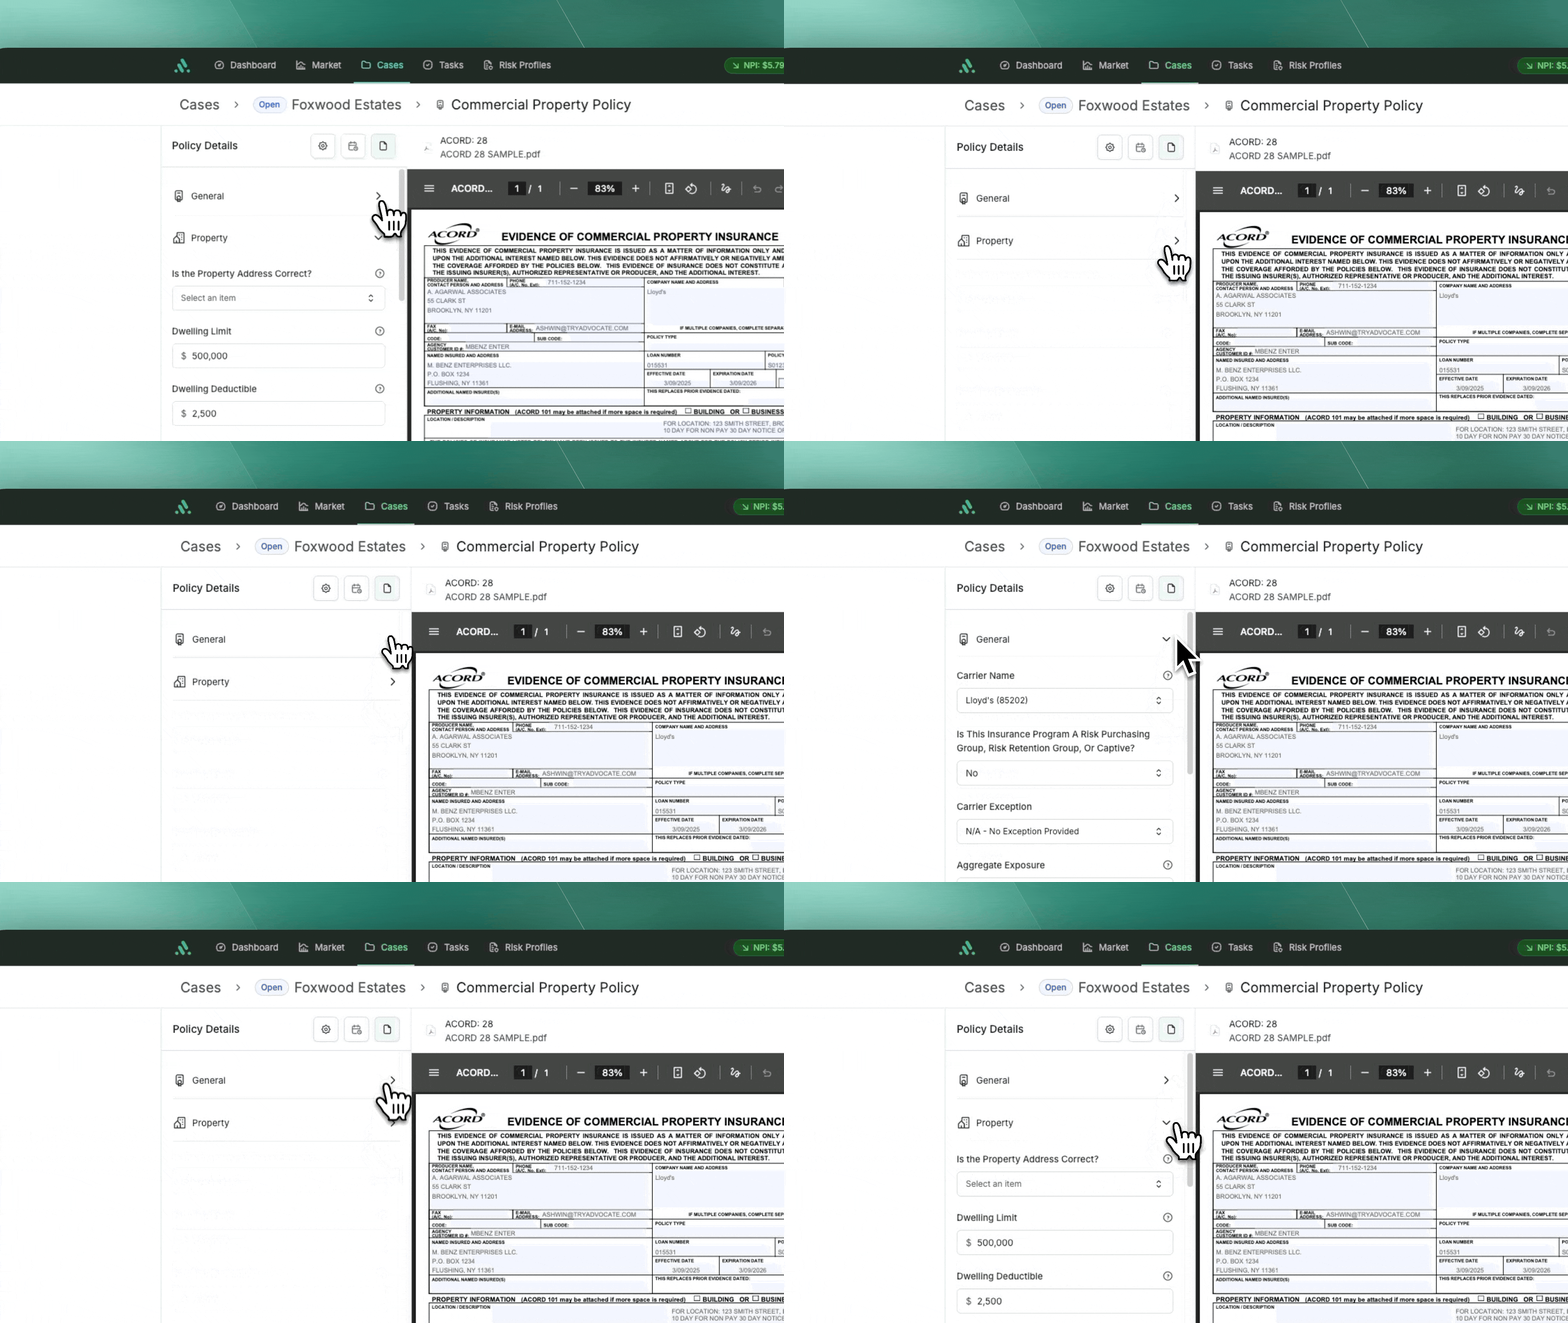
Structure of the Policy Checklist
The checklist is divided into two main sections (all collapsable making it easier to browse through the checklist):
General: This section encompasses the fields that are relevant at the Policy level. It is designed to be user-friendly, allowing reviewers to minimize or expand this part as needed. This functionality facilitates a smoother navigation experience through the checklist, enabling reviewers to efficiently access and assess the necessary information.
Line of Coverage - Property/ Liability: This section pertains to all fields that are relevant to the Line of Coverage associated with the Policy itself. Within this area, the reviewer has the opportunity to input various details, including but not limited to coverage limits, deductibles, and any other pertinent information that may be required for a comprehensive assessment of the policy.
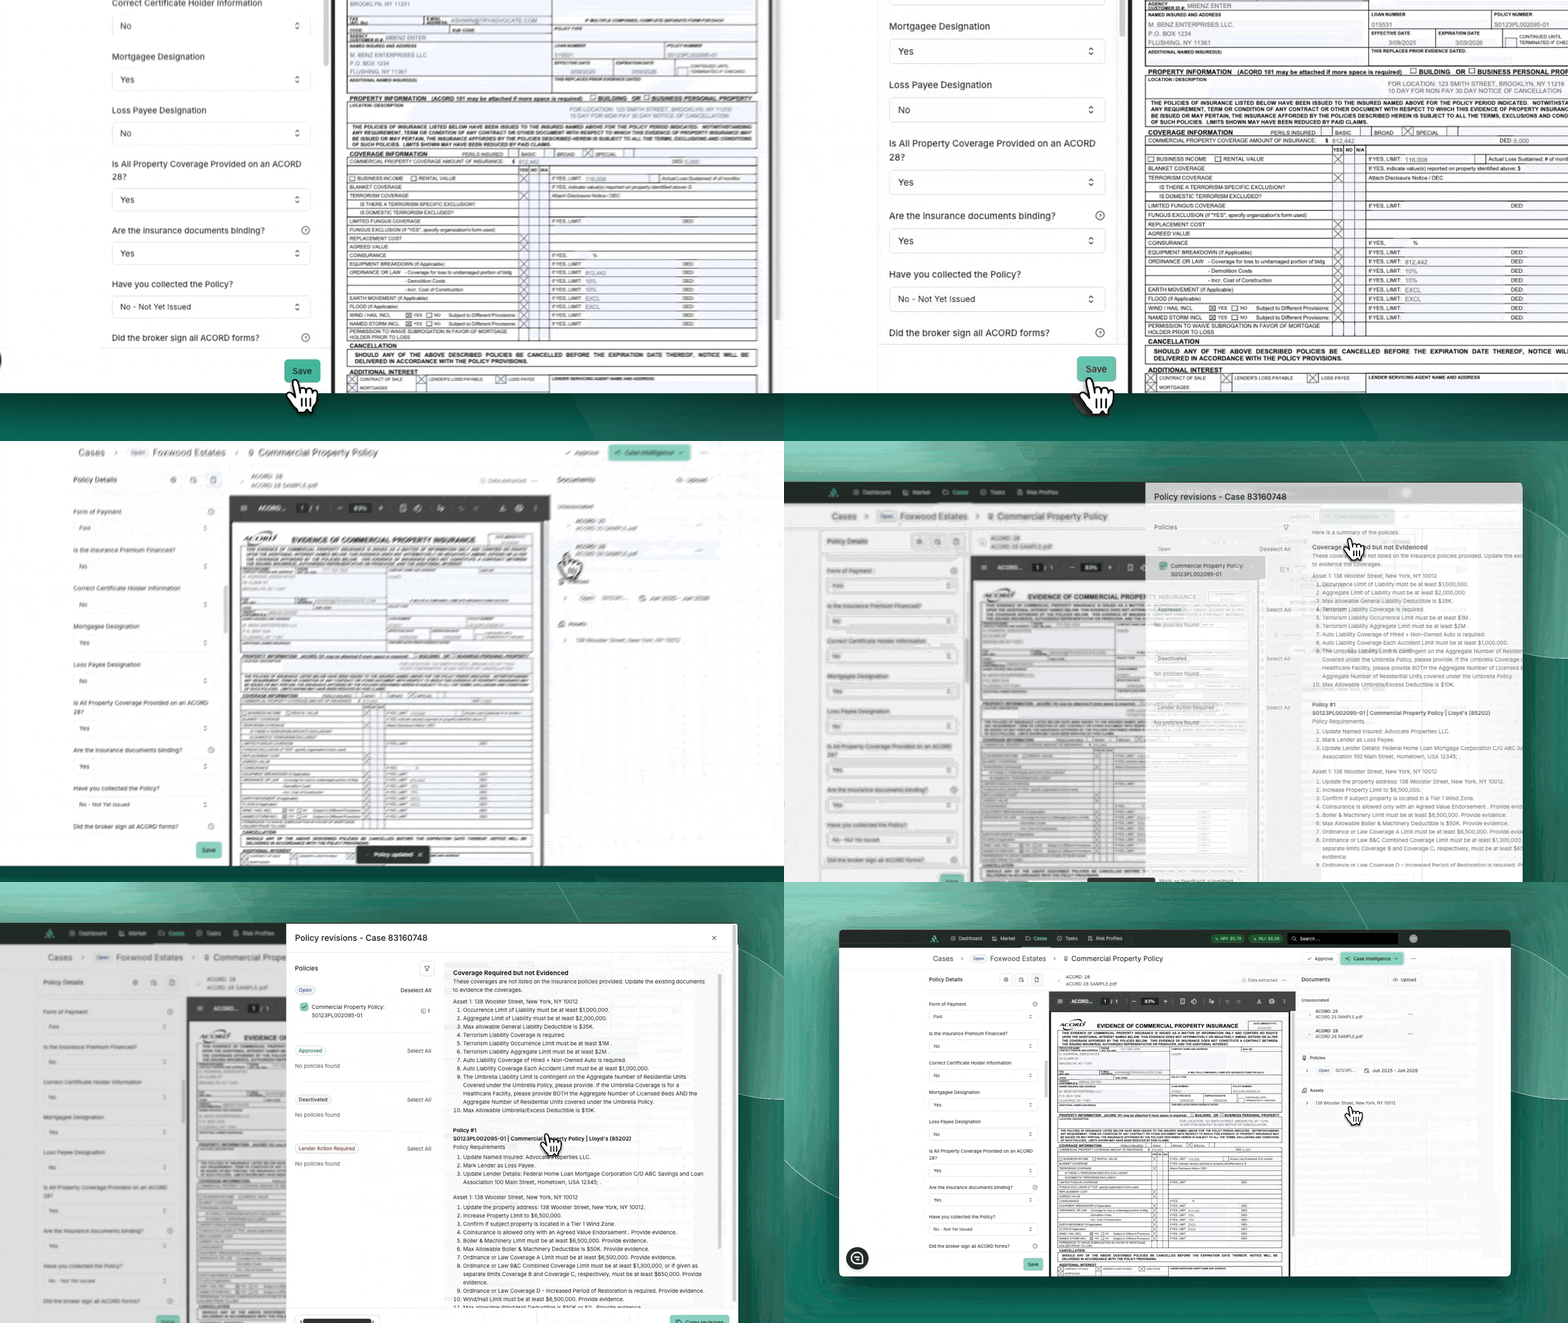
Saving the Policy Checklist
Please note that inputs made to the Policy Checklist do not autosave. To ensure that all updates are retained, follow these steps after completing the checklist:
Complete the Checklist: Review and mark all required compliance items as appropriate.
Scroll to the Bottom: Once you have completed the checklist, scroll to the bottom of the page.
Click Save: Click the Save button to securely save all your inputs.
⚠️ Reminder: Failing to click "Save" will result in your inputs not being recorded. Always save before navigating away from the checklist to avoid losing your work.
How to Generate Policy Revisions
Once you have completed and saved the Policy Checklist, you can generate a compliance response summary. This response provides an instant, comprehensive summary of any pending compliance items and revisions needed to bring the policy into compliance.
Steps to Generate a Response from the Checklist:
Complete and Save the Checklist: Ensure all items in the Policy Checklist are reviewed and saved.
Case Intelligence: After saving, select Case Intelligence at the top righ and click on Policy Revisions. This action compiles a summary of:
Pending compliance items
Required policy revisions
Any additional information or actions needed
Review the Summary: The generated response gives the reviewer a clear, real-time summary of compliance feedback to be shared with the insurance contact.
Select the Policies you wish to include in your feedback. The Policy associated with the Checklist is enabled by default.
Copy to Clipboard: Once the response is generated, you’ll have the option to Copy to Clipboard. This allows you to easily paste the response into an email, message, or any other platform for further communication.
Note: Please be aware that users have the capability to generate policy revisions from various locations within the system for greater flexibility and usability.
Users can access it from four specific locations, each with its own default view:
Case Intelligence on the Case Overview Page:
All Active Policies are enabled by default.
Policies Selected on Policy Page:
Only the selected Policies are enabled.
3-Dot Menu for a Policy on Policy Page:
The specific Policy is enabled by default.
Checklist:
Following the steps mentioned above.


